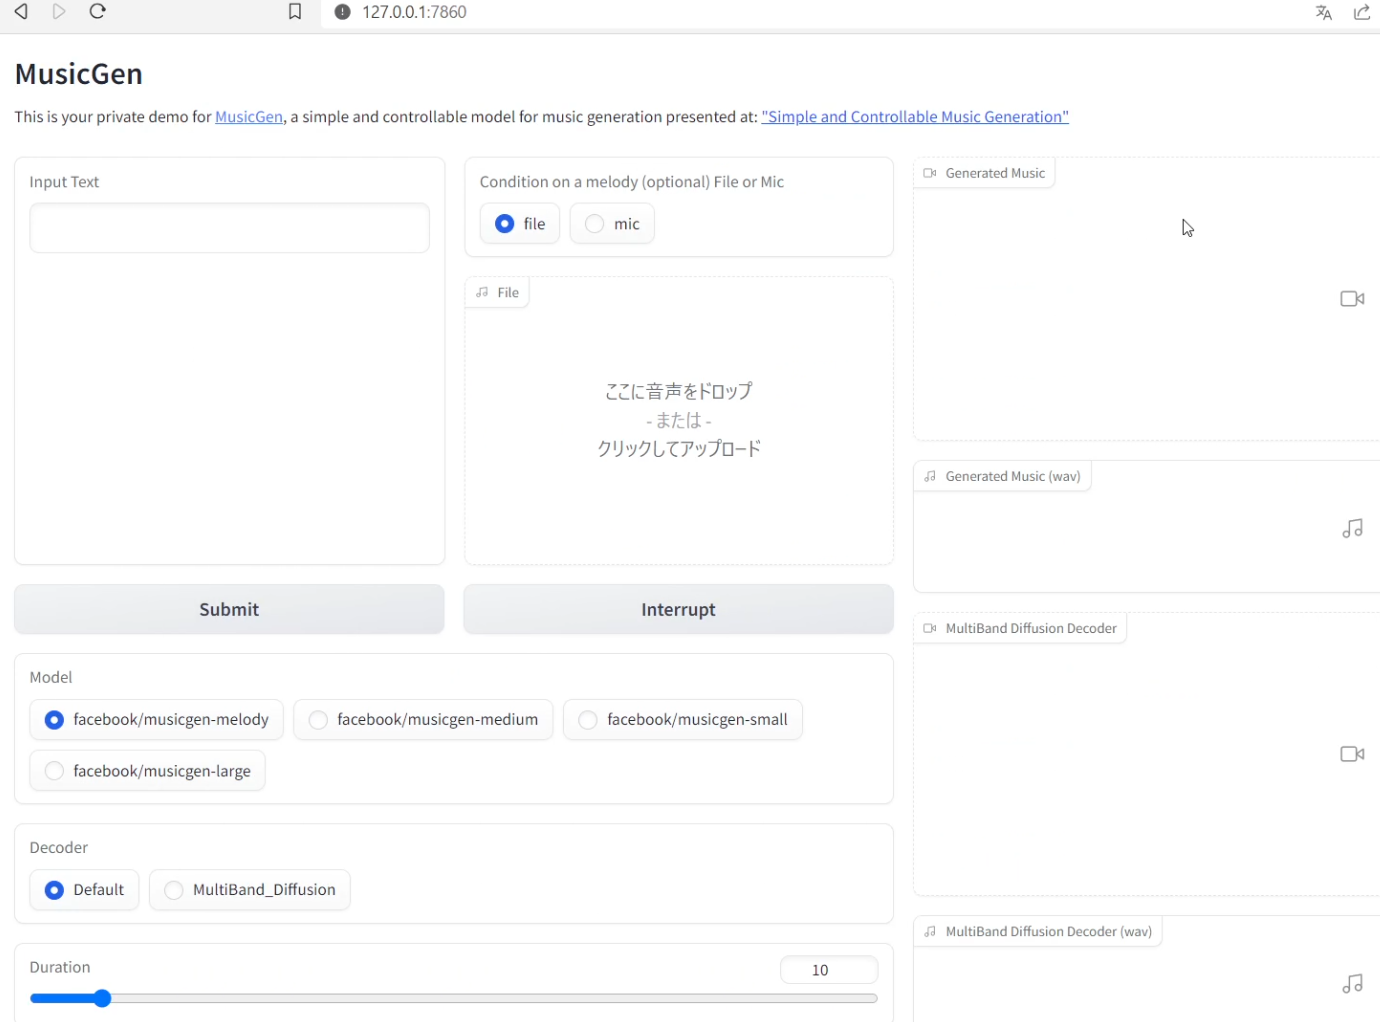
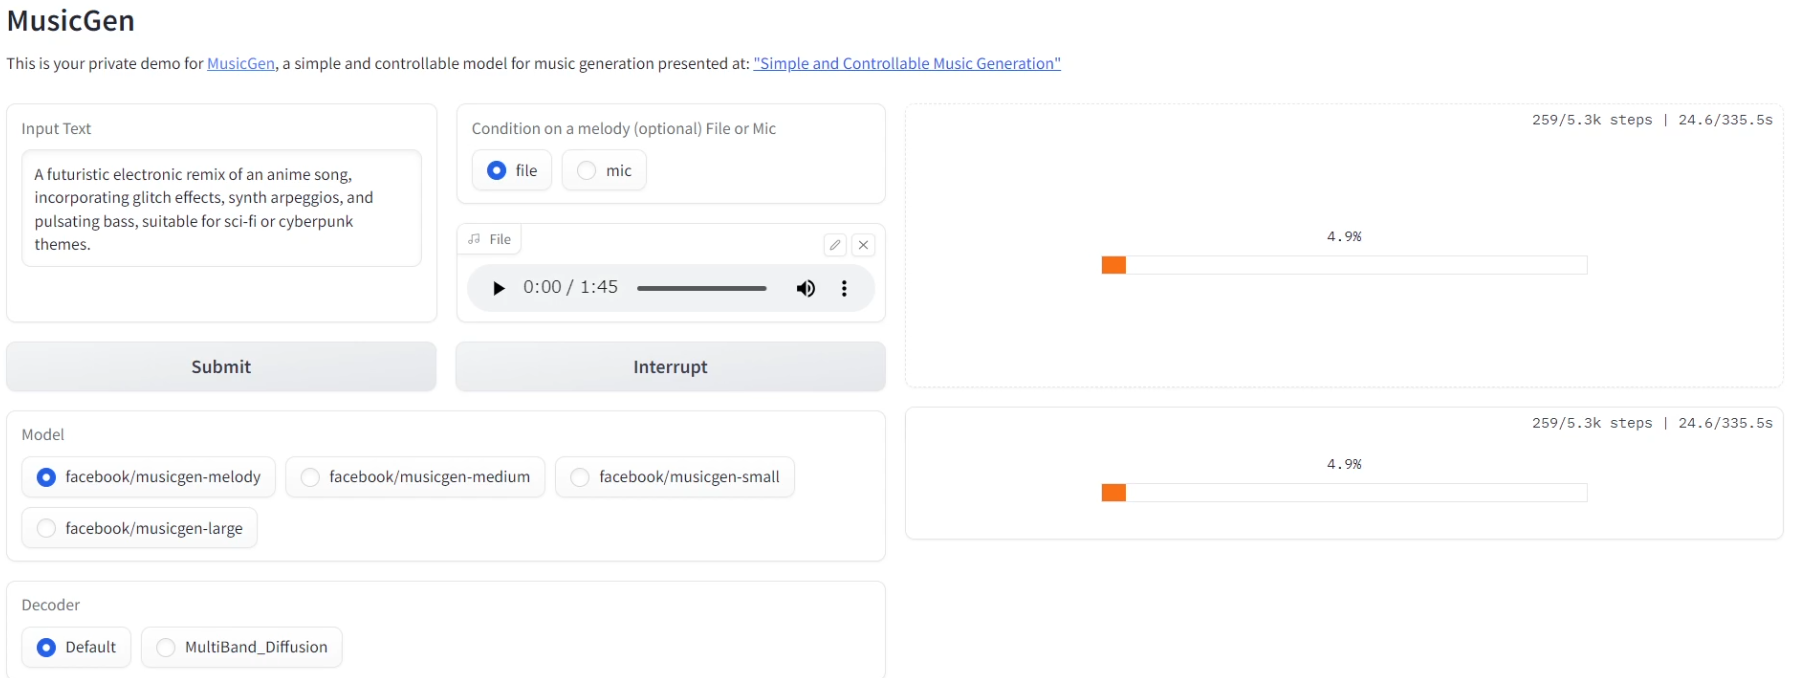
Today, we will install Audiocraft using the following GitHub page as a reference: We will use a python virtual environment, so we do not have to worry about messing up our computer.
The main purpose of using a python virtual environment ( such asvenv or virtualenv ) is to avoid “messing up” the host environment. Using virtual environments provides the following advantages
- Environment isolation: Virtual environments provide a separate Python environment for each project or task. This allows different projects with different library versions to work without interfering with each other.
- Protection of the host environment: Allows you to manage dependencies on a per-project basis without having to change the system-wide Python environment or libraries. This prevents the system’s Python environment from becoming “dirty.
- Avoiding Version Issues: If a particular project requires an older version of a library, or if a newer version of a library is to be tested, the virtual environment makes it easy to install and manage those versions.
- Portability and reproducibility: Exporting dependencies of the virtual environment using
requirements.txtmakes it easy to share and reproduce the environment with other machines and team members.
Thus, with proper use of the virtual environment, project dependencies can be managed without cluttering up the host environment.
The version of Python is also important.
Regarding Python, is the Python version the same in the venv virtual environment as in the host?
The answer to the above question is: If you create a Python virtual environment using venv, the Python version of that virtual environment will usually be the same as the version of the python command used to create the virtual environment.
For example, if you have Python 3.8 and Python 3.9 installed on your system, the Python version in the virtual environment will differ depending on which version you use with venv.
Currently, 3.11.4 was installed. if you create a virtual environment using venv, the Python version within that virtual environment will be the same as the Python version used when creating the virtual environment. Thus, if you use venv with Python 3.11 installed on the host system, Python 3.11 will be used in that virtual environment as well.
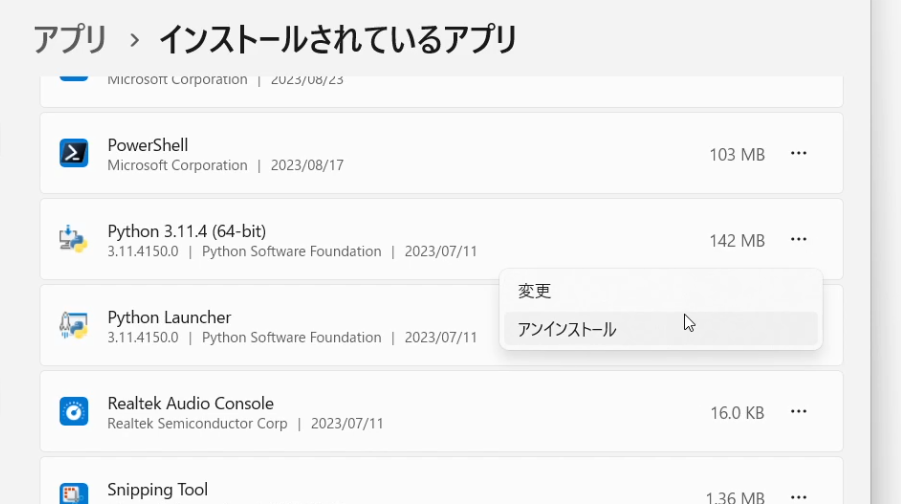
Therefore, we will downgrade python. If you installed it using the installer, the current version can be removed from “Installed Apps” in Windows 11.
To obtain a specific version of python, go to the following official page
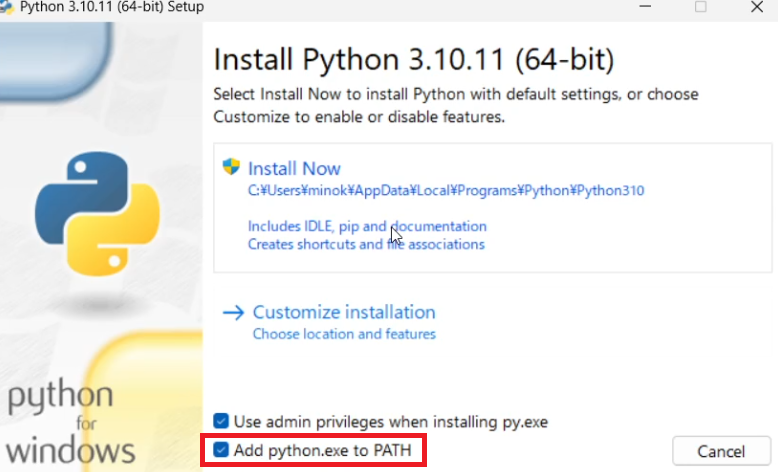
The Windows installer version was version 3.10.11, so download this one. 64-bit version with “Recommended” marked.
I won’t go into the installation procedure, but if you don’t check the “add python.exe to path” checkbox, Python will not add it to the environment variable, which can be a problem later on. If you do not check the option “Add Python.exe to Path” in the Python Windows installer, the path to the Python executable file is not automatically added to the system’s PATH environment variable. As a result, you will not be able to execute commands such as python or pip directly from the command prompt or PowerShell.
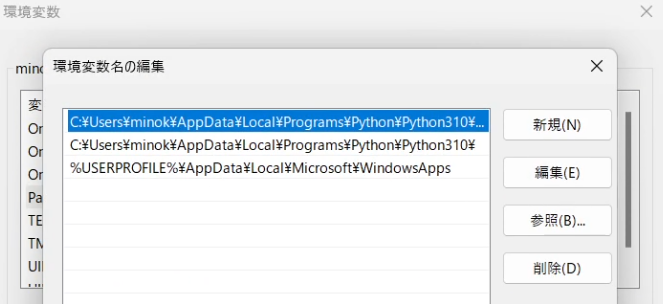
In addition, FFmpeg must be installed.

After installation is complete, clone the official facebookresearch GitHub repository.
For clarity, we decided to create a folder directly under the C drive. Clone in the created folder. Here we used PowerShell.
git clone https://github.com/facebookresearch/audiocraftgit: The term ‘git’ is not recognized as a name of a cmdlet, function, script file, or executable program.
Check the spelling of the name, or if a path was included, verify that the path is correct and try again.
I did not install git for Windows. You can directly download the files in the following way Unzip the downloaded file. Move the unzipped folder to the folder you created earlier.
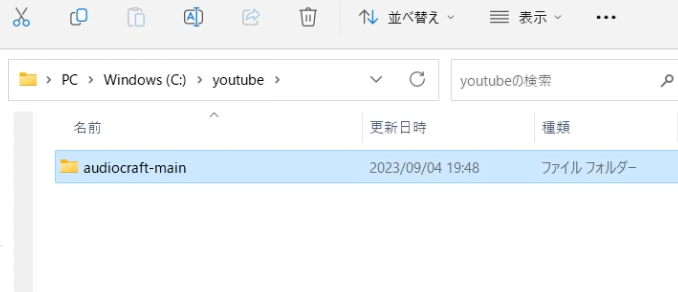
Using the web interface:.
- Go to the repository’s main page on a web interface such as GitHub and click on the “Code” button.
- Then click on the option “Download ZIP” to download the ZIP archive of the repository.
- If you extract the ZIP file locally, you will have access to all the files in the repository.
However, these methods only take a current snapshot of the repository; to take full advantage of Git’s powerful version control, history tracking, and other features, it is best to install Git.
Create a virtual environment by executing the following commands in the folder audiocraft-main that appears after unzipping.
python -m venv test0Then, move to the lower level of the folder.
cd test0
cd Scripts
Activate the virtual environment created by the Python venv module.
activateHowever, the following error occurs
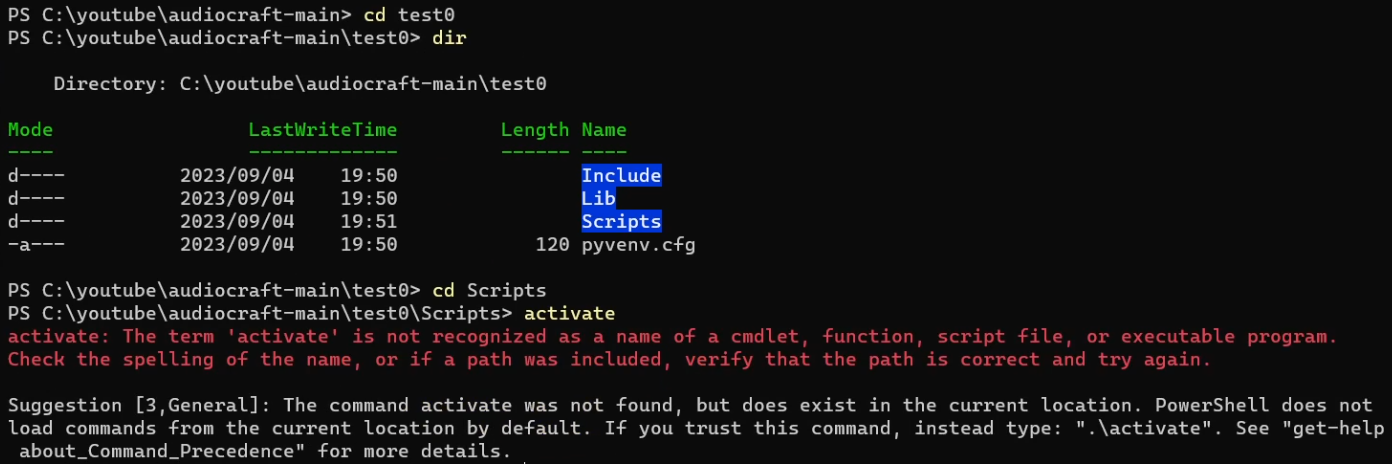
PS C:\youtube\audiocraft-main\test0\Scripts> activate
activate: The term 'activate' is not recognized as a name of a cmdlet, function, script file, or executable program.
Check the spelling of the name, or if a path was included, verify that the path is correct and try again.

Suggestion [3,General]: The command activate was not found, but does exist in the current location. PowerShell does not load commands from the current location by default. If you trust this command, instead type: ".\activate". See "get-help about_Command_Precedence" for more details.
In PowerShell, the command looks a little different. Do the following
PS C:\youtube\audiocraft-main\test0\Scripts> .\Activate. and \ to run the Activate script in the current directory.
If you were using the command prompt (cmd), you can activate it as follows
C:\youtube\audiocraft-main\test0\Scripts> activateIt is necessary to activate before using the virtual environment. This command allows the Python interpreter and packages in the virtual environment to be used from the command line.
The way to invoke the activate command for a virtual environment depends on the shell and operating system you are using. The following are common methods
For cmd.exe on Windows:
path\to\env\Scripts\activateFor Windows PowerShell: .
.\path\to\env\Scripts\ActivateFor Linux or macOS bash/shell: .
source path/to/env/bin/activateBy executing these commands, the virtual environment will be activated and the Python interpreter and libraries in that environment will be used by default. Then, if you execute commands such as pip install in this state, the packages to be installed will be stored in the virtual environment.
To deactivate (terminate) an activated virtual environment, use the deactivate command in any shell/OS.
Next, move up two levels of hierarchy.
(test0) PS C:\youtube\audiocraft-main\test0\Scripts> cd ..
(test0) PS C:\youtube\audiocraft-main\test0> cd ..
I decided to create the batch file myself. Save this in C:\youtube\audiocraft-main\test0. I named the file “test0.bat”. The description is as follows.
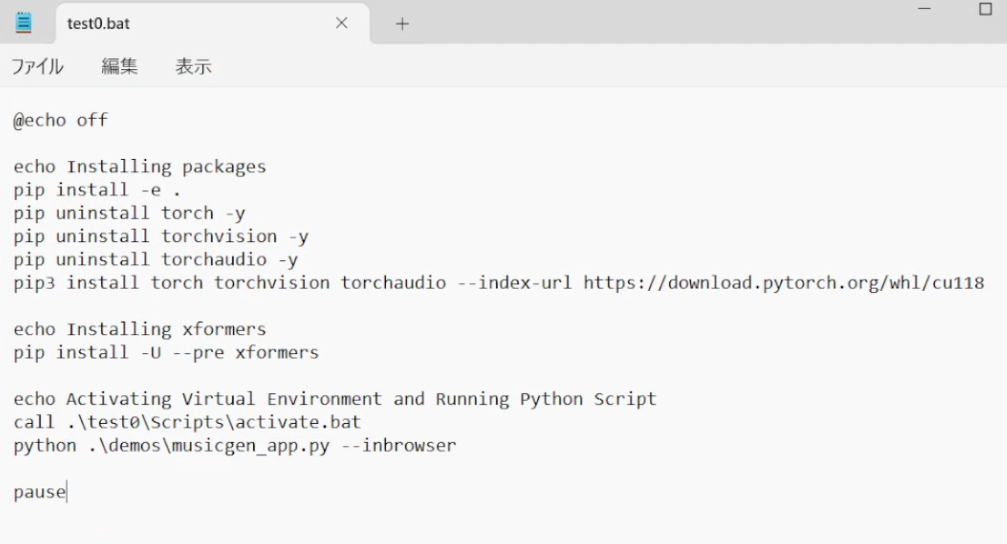
@echo off

echo Installing packages
pip install -e .
pip uninstall torch -y
pip uninstall torchvision -y
pip uninstall torchaudio -y
pip3 install torch torchvision torchaudio --index-url https://download.pytorch.org/whl/cu118

echo Installing xformers
pip install -U --pre xformers

echo Activating Virtual Environment and Running Python Script
call .\test0\Scripts\activate.bat
python .\demos\musicgen_app.py --inbrowser

pause
In test0, there is a batch file that you created, so execute this
(test0) PS C:\youtube\audiocraft-main> test0.batHowever, an error occurs
test0.bat: The term ‘test0.bat’ is not recognized as a name of a cmdlet, function, script file, or executable program.
Check the spelling of the name, or if a path was included, verify that the path is correct and try again.
Suggestion [3,General]: The command test0.bat was not found, but does exist in the current location. PowerShell does not load commands from the current location by default. If you trust this command, instead type: “.\test0.bat”. See “get-help about_Command_Precedence” for more details.
PowerShell does not allow you to run scripts or executables directly from the current directory by default.
.\test0.batThe following message will appear, but wait for the process to complete.
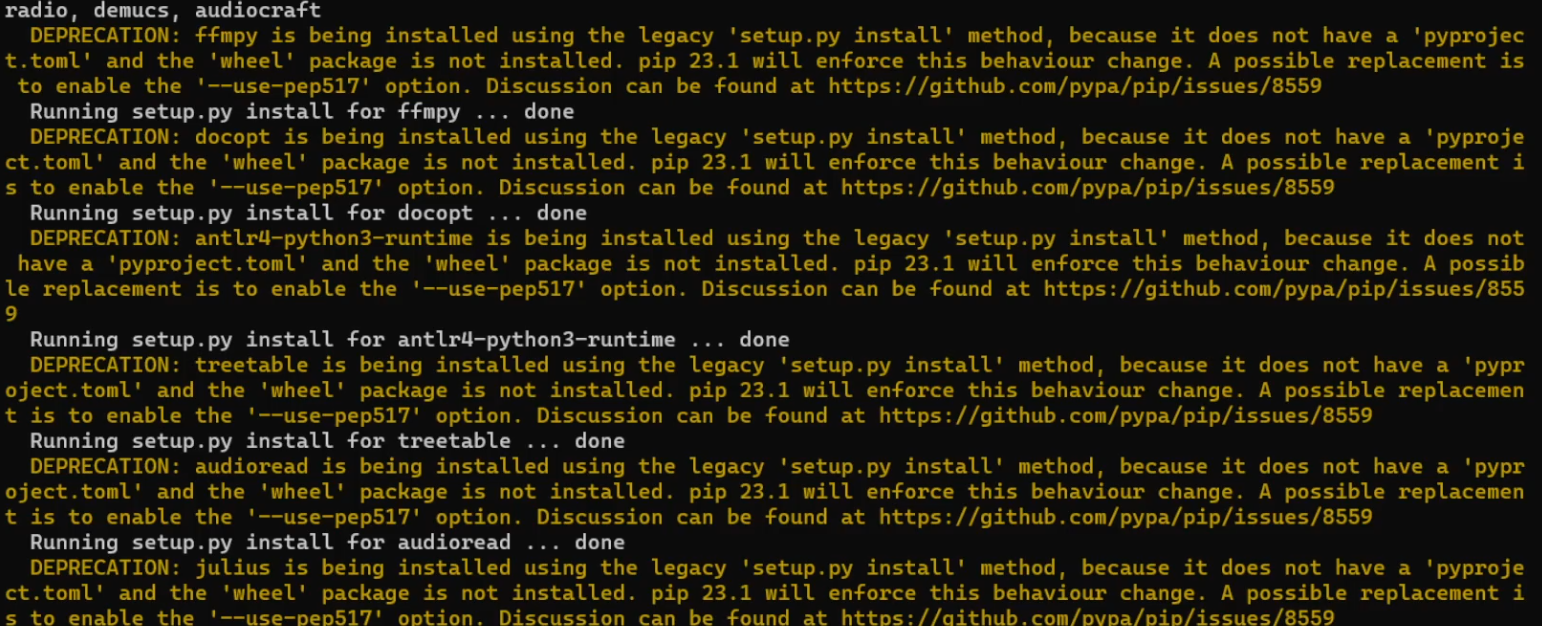
DEPRECATION: ffmpy is being installed using the legacy ‘setup.py install’ method, because it does not have a ‘pyproject.toml’ and the ‘wheel’ package is not installed. pip 23.1 will enforce this behaviour change. A possible replacement is to enable the ‘–use-pep517’ option.
After a few moments, the default browser will start and the MusicGen screen will appear.
